Porch Furniture Project: Virtual Open House/Shop Tour
Did you miss the Porch Furniture Project Open House in December? Take a virtual tour through the furniture making process.
![Step 1](https://images.squarespace-cdn.com/content/v1/52e953e8e4b04e8cd686746b/1452643535357-H4YEPV5AYRYM62P5ZG1K/step+1.jpg)
Receive lumber and high grade for both appearance and structural integrity
![Step 2](https://images.squarespace-cdn.com/content/v1/52e953e8e4b04e8cd686746b/1452643537848-6VDAUWBJ6N193KMKQPMW/step+2.jpg)
Plane to desired thickness for the specific size needed
![Step 3](https://images.squarespace-cdn.com/content/v1/52e953e8e4b04e8cd686746b/1452643546659-8ZVFNUQIQ3Z1IUSFAO06/step+3.jpg)
Draw on the selected rough shape and band saw out the specific pieces
![Step 4](https://images.squarespace-cdn.com/content/v1/52e953e8e4b04e8cd686746b/1452643548775-JO23V8CGBNL0YRDMZO6K/step+4.jpg)
Finish dimension piece on both sides with the shaper
![Step 5](https://images.squarespace-cdn.com/content/v1/52e953e8e4b04e8cd686746b/1452643557919-KUM1H95CM3WI8Z73Y4LG/step+5.jpg)
Edge sand shaper nubs and other blemishes off
![Step 6](https://images.squarespace-cdn.com/content/v1/52e953e8e4b04e8cd686746b/1452643568830-S5ZNXSPZFU9VS6VO18FJ/step+6.jpg)
Add 5 degree bevel to inside of leg assemblies on jointer
![Step 7](https://images.squarespace-cdn.com/content/v1/52e953e8e4b04e8cd686746b/1452643571783-YOA5IWMUFX39UAC1WDUF/step+7.jpg)
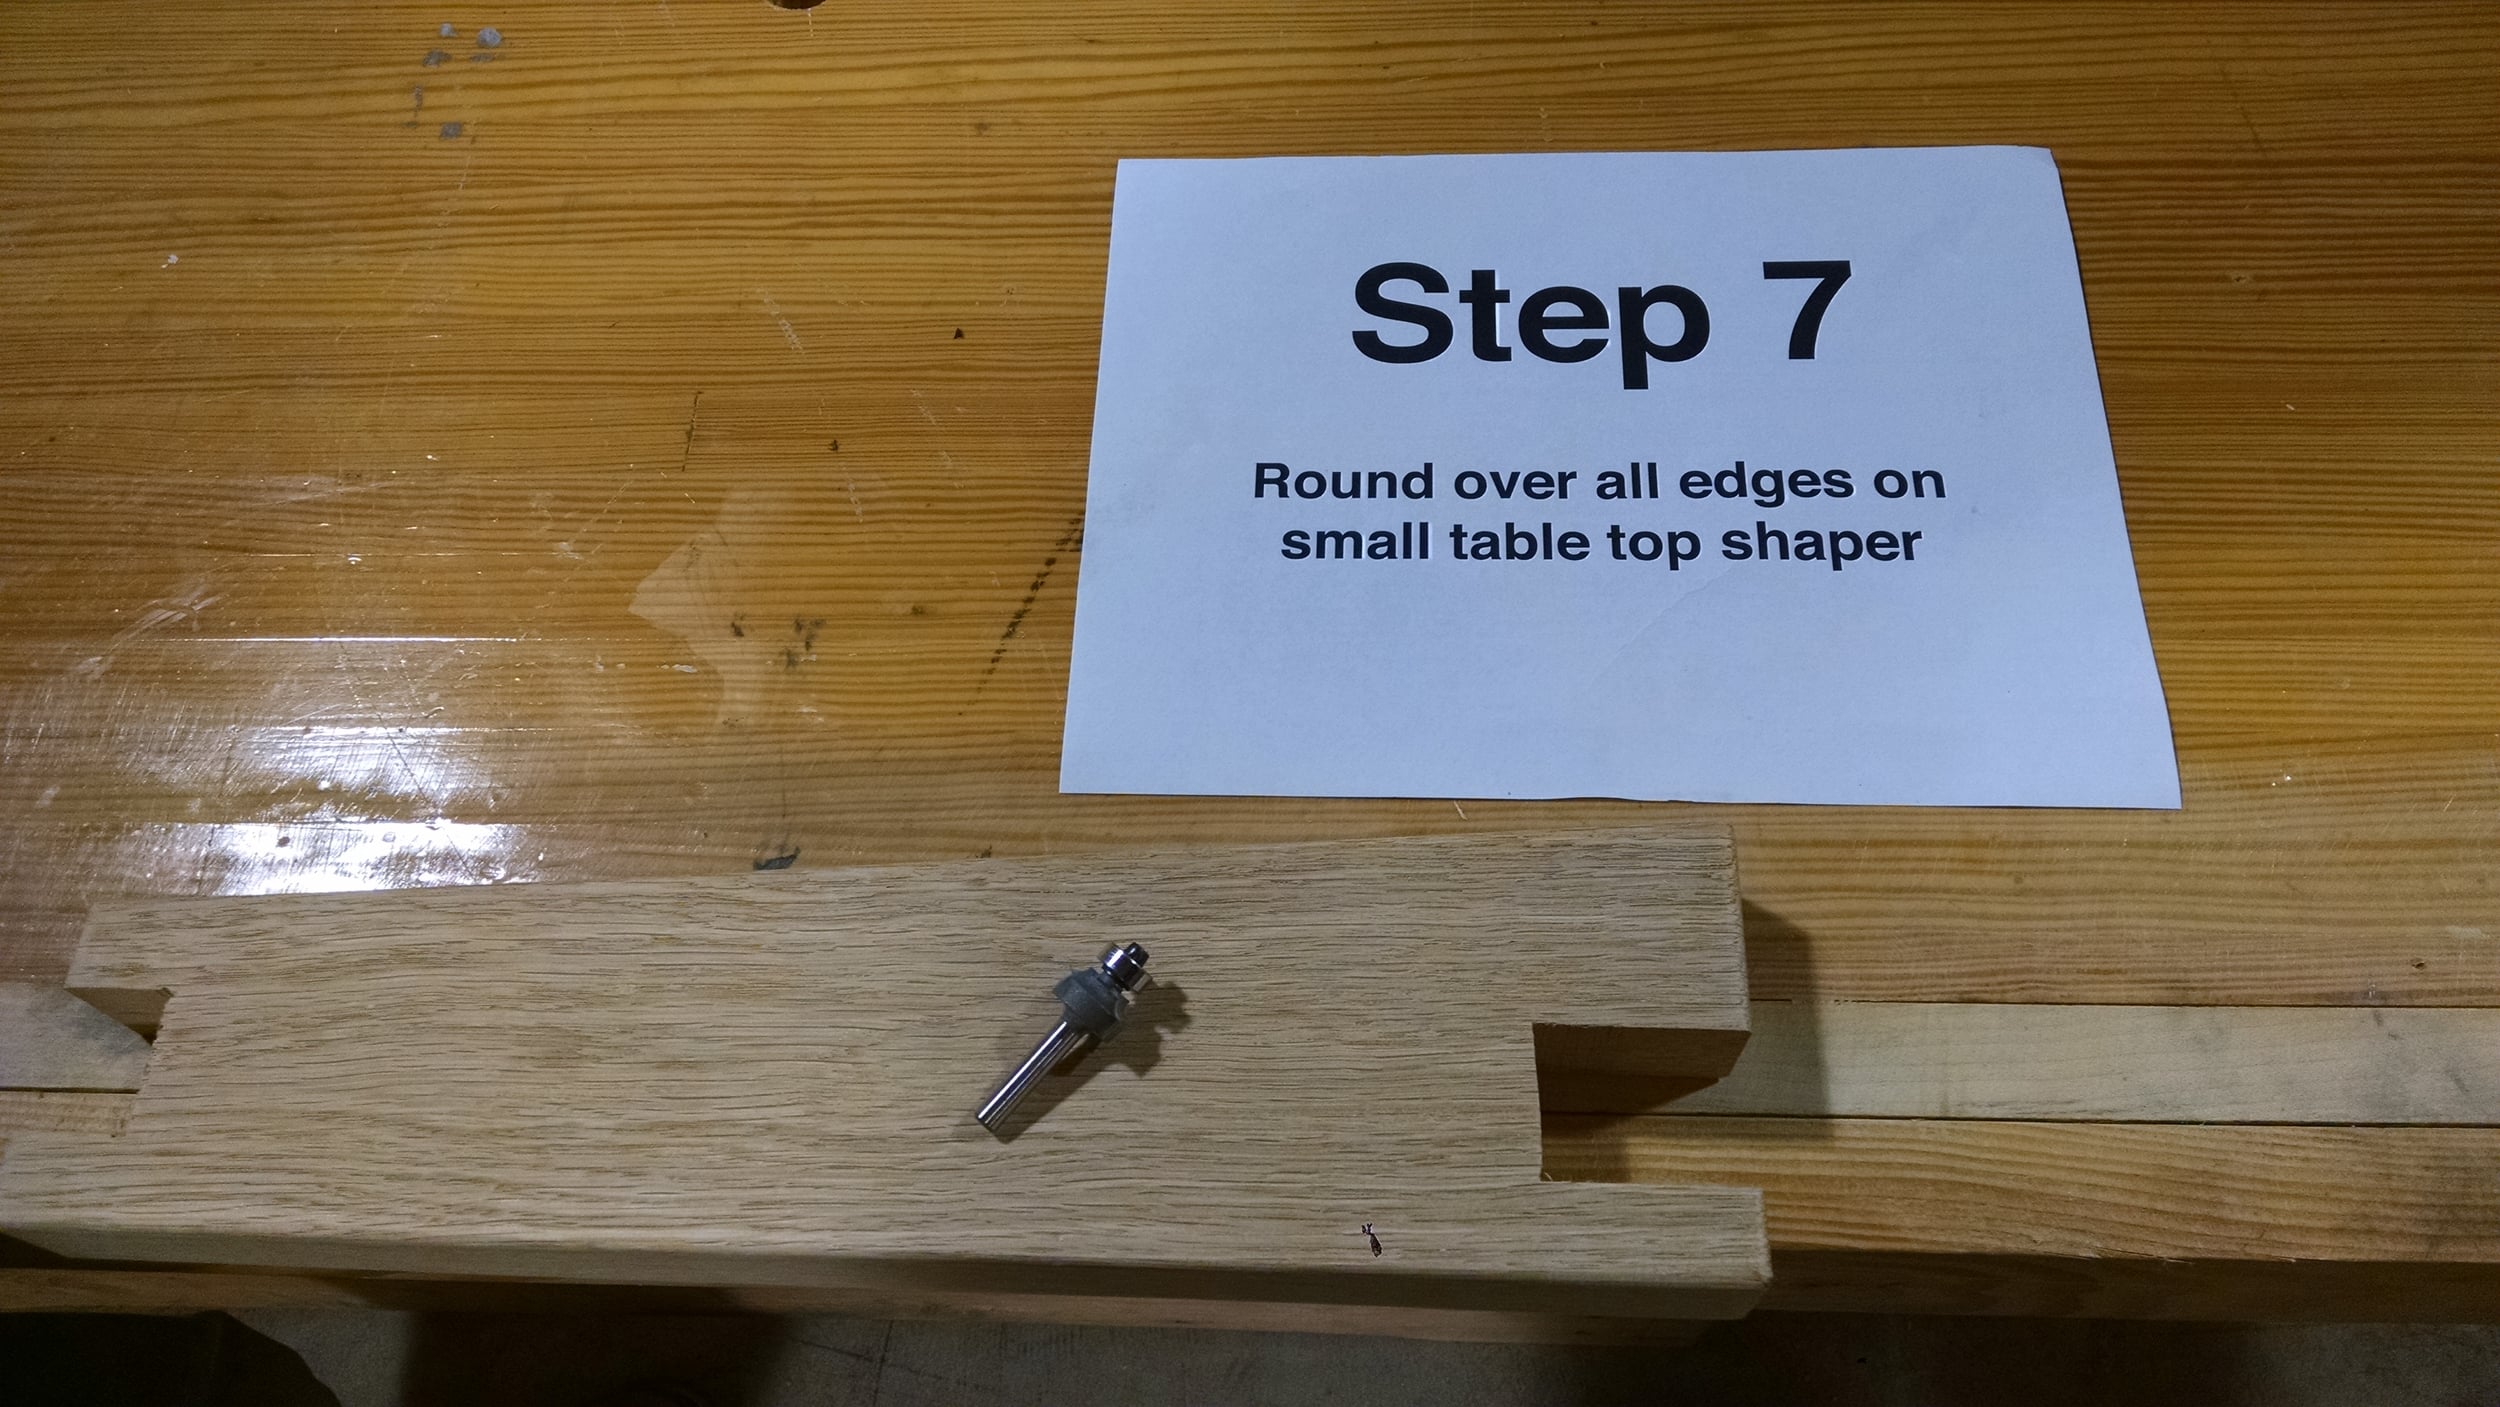
Round over all edges on small table top shaper
![Step 8](https://images.squarespace-cdn.com/content/v1/52e953e8e4b04e8cd686746b/1452643580104-5FMC9W2KOEW74TG0KEBF/step+8.jpg)
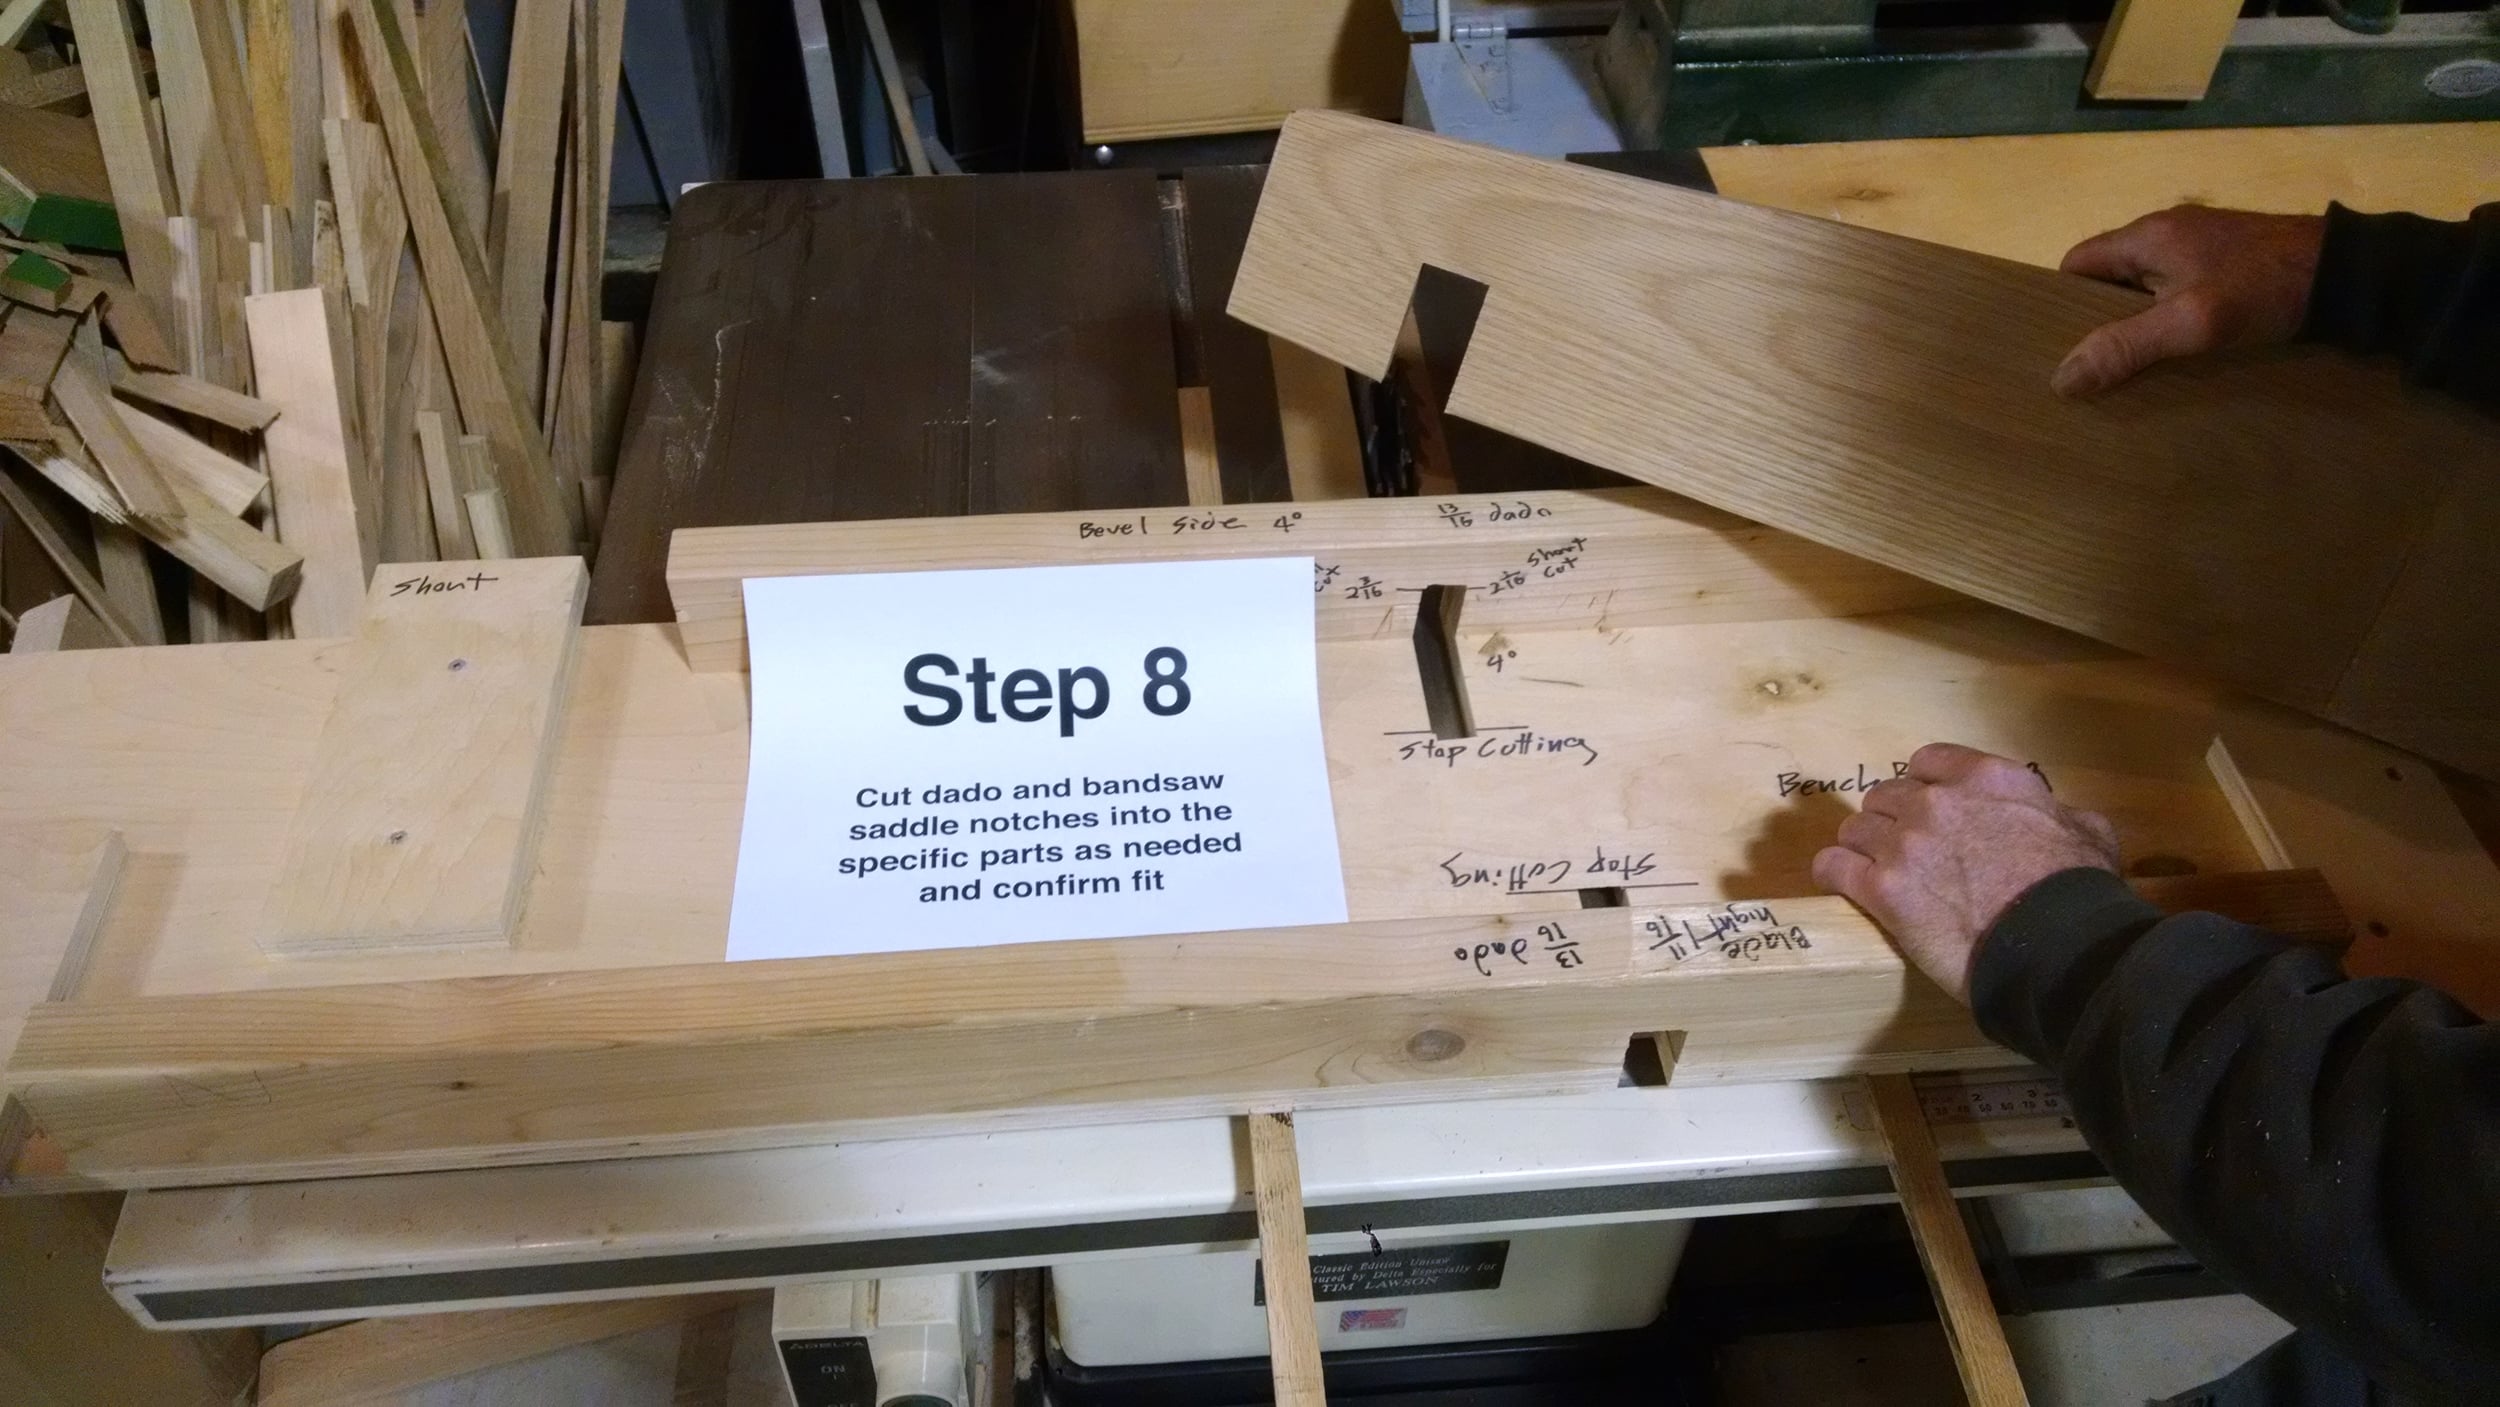
Cut dado and bandsaw saddle notches into the specific parts as needed and confirm fit
![Step 9](https://images.squarespace-cdn.com/content/v1/52e953e8e4b04e8cd686746b/1452643584031-D4W8CSNYWVKLOI6PXYJ0/step+9.jpg)
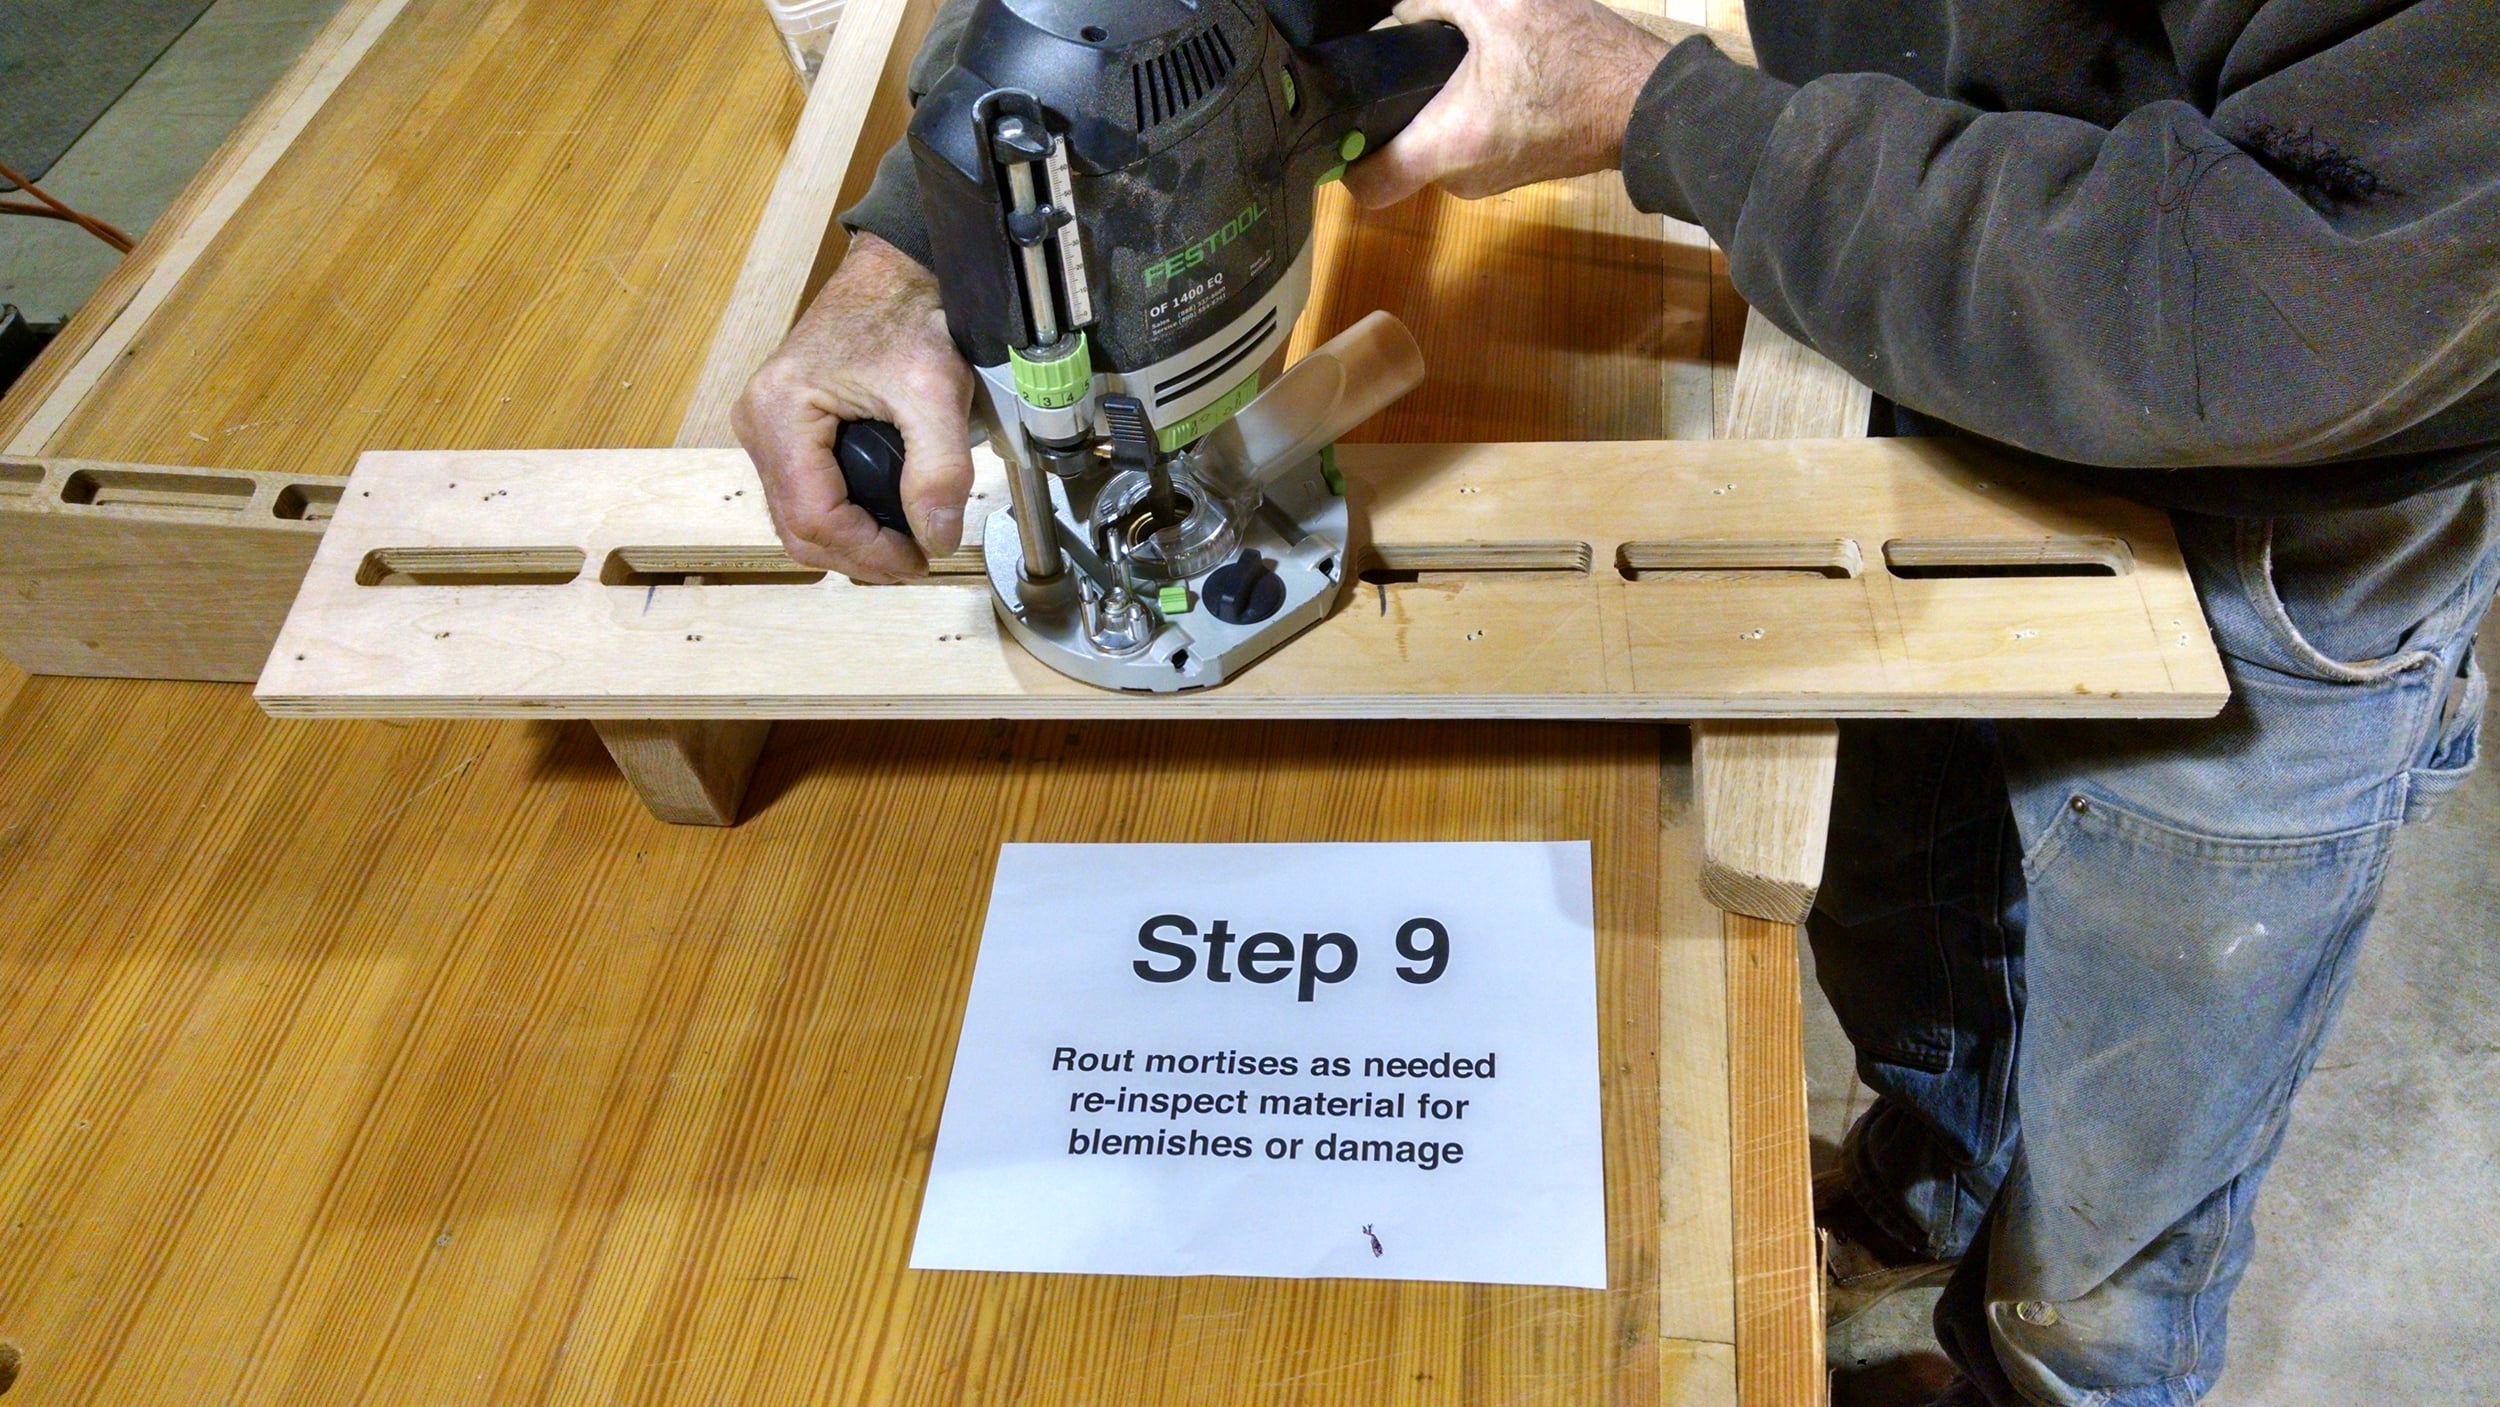
Rout mortises as needed, re-inspect material for blemishes or damage
![Step 10](https://images.squarespace-cdn.com/content/v1/52e953e8e4b04e8cd686746b/1452643592125-1WXC2X4VU4W95GIDVUR8/step+10.jpg)
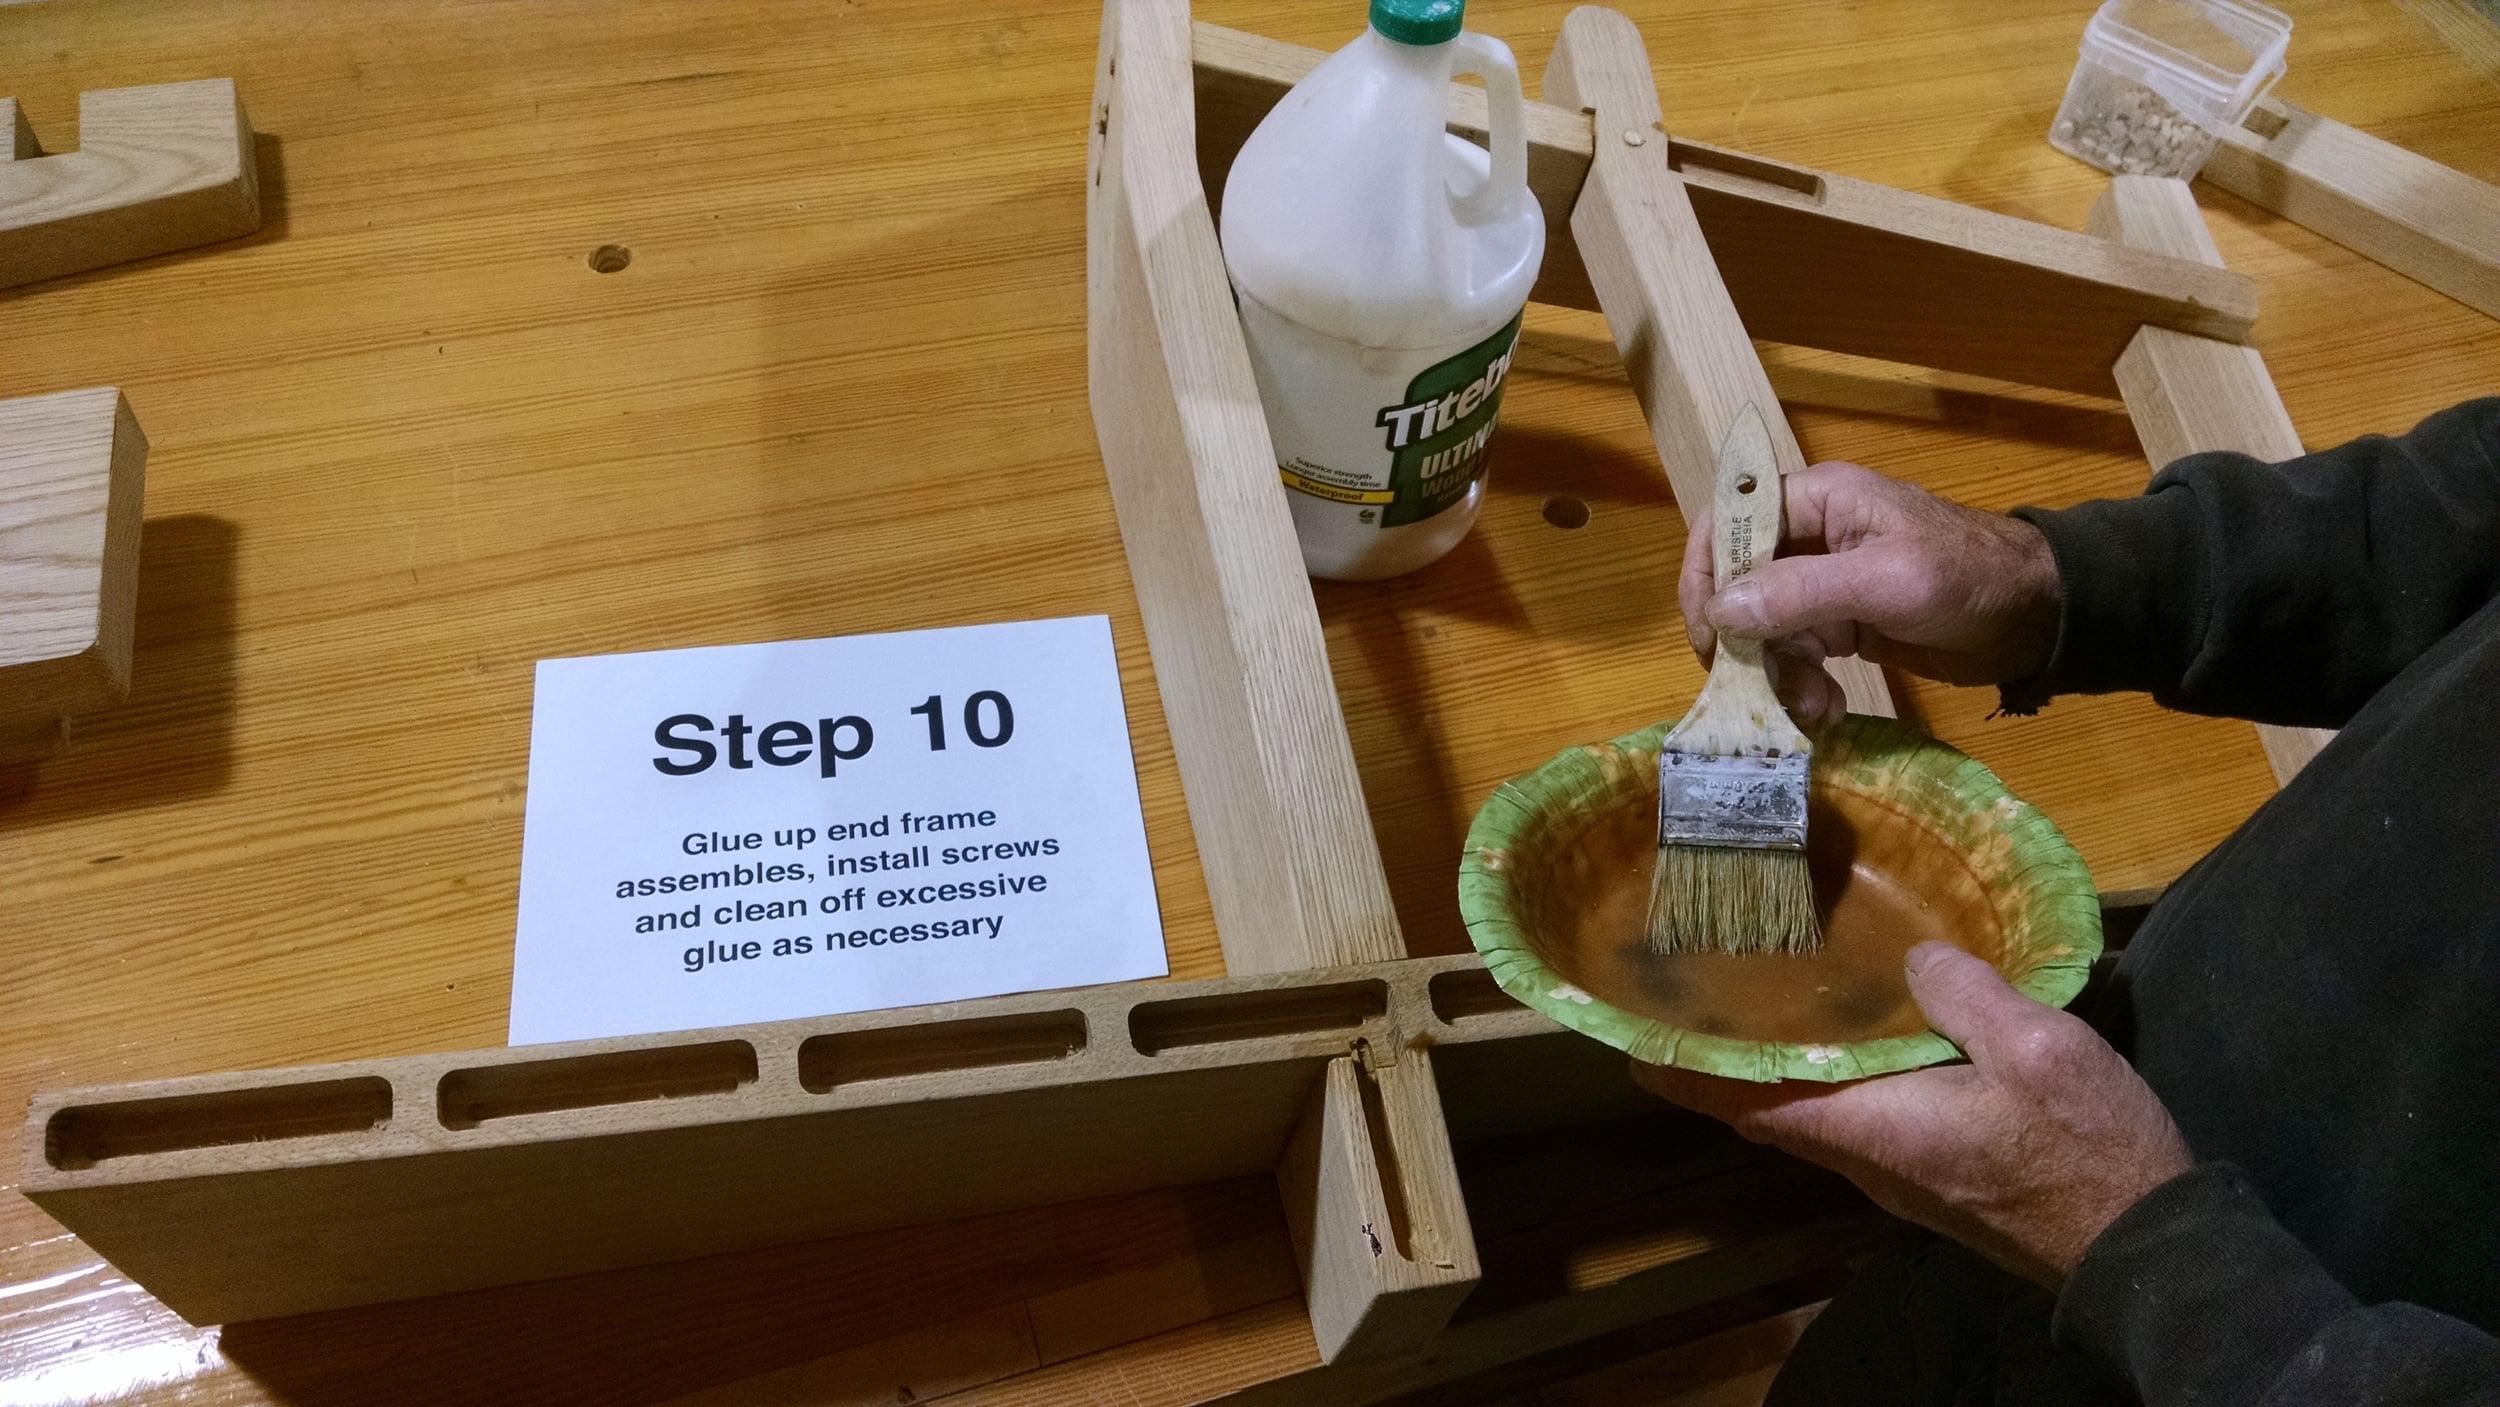
Glue up end frame assembles, install screws and clean off excessive glue as necessary
![Steps 11 & 12](https://images.squarespace-cdn.com/content/v1/52e953e8e4b04e8cd686746b/1452643594190-YLK0G2QR70VCZLL9W85V/step+12.jpg)
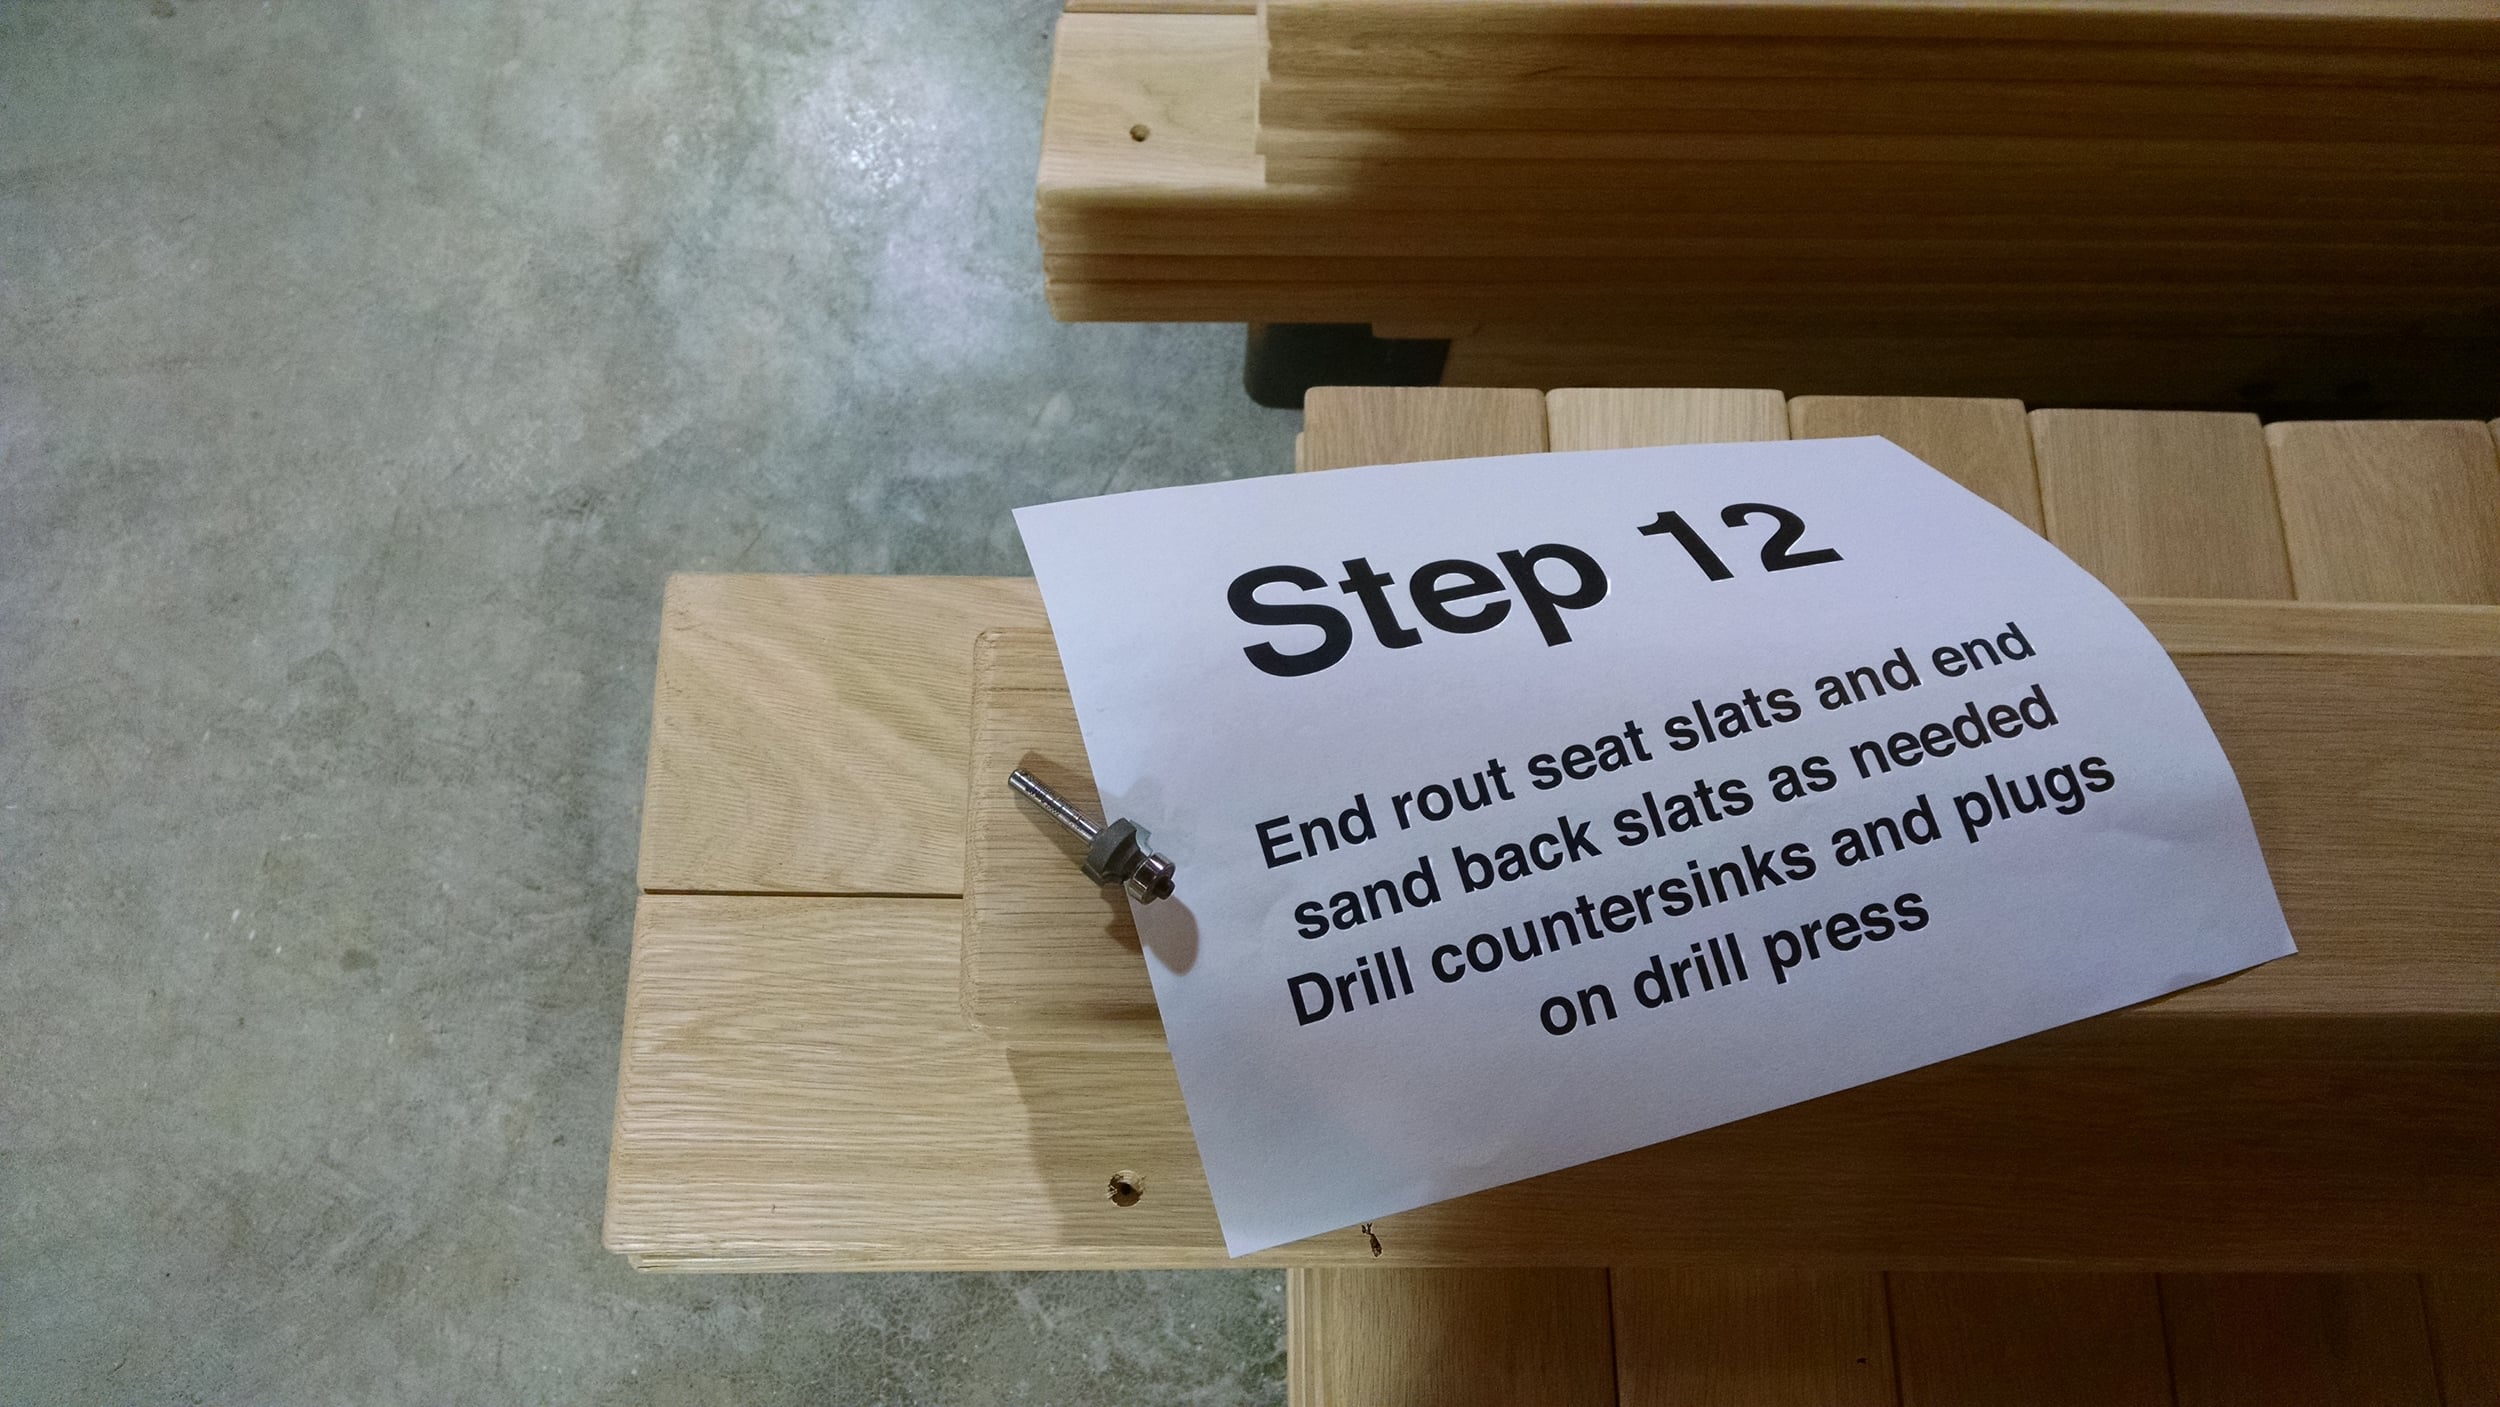
11: Cut both seat and back slats out on compound miter saw with required 5 & 1 degree accordingly
12: End rout seat slats and end sand back slats as needed; drill countersinks and plugs on drill press
![Step 13](https://images.squarespace-cdn.com/content/v1/52e953e8e4b04e8cd686746b/1452643602665-Z85K2FQST0GJ0OO2H3PX/step+13.jpg)
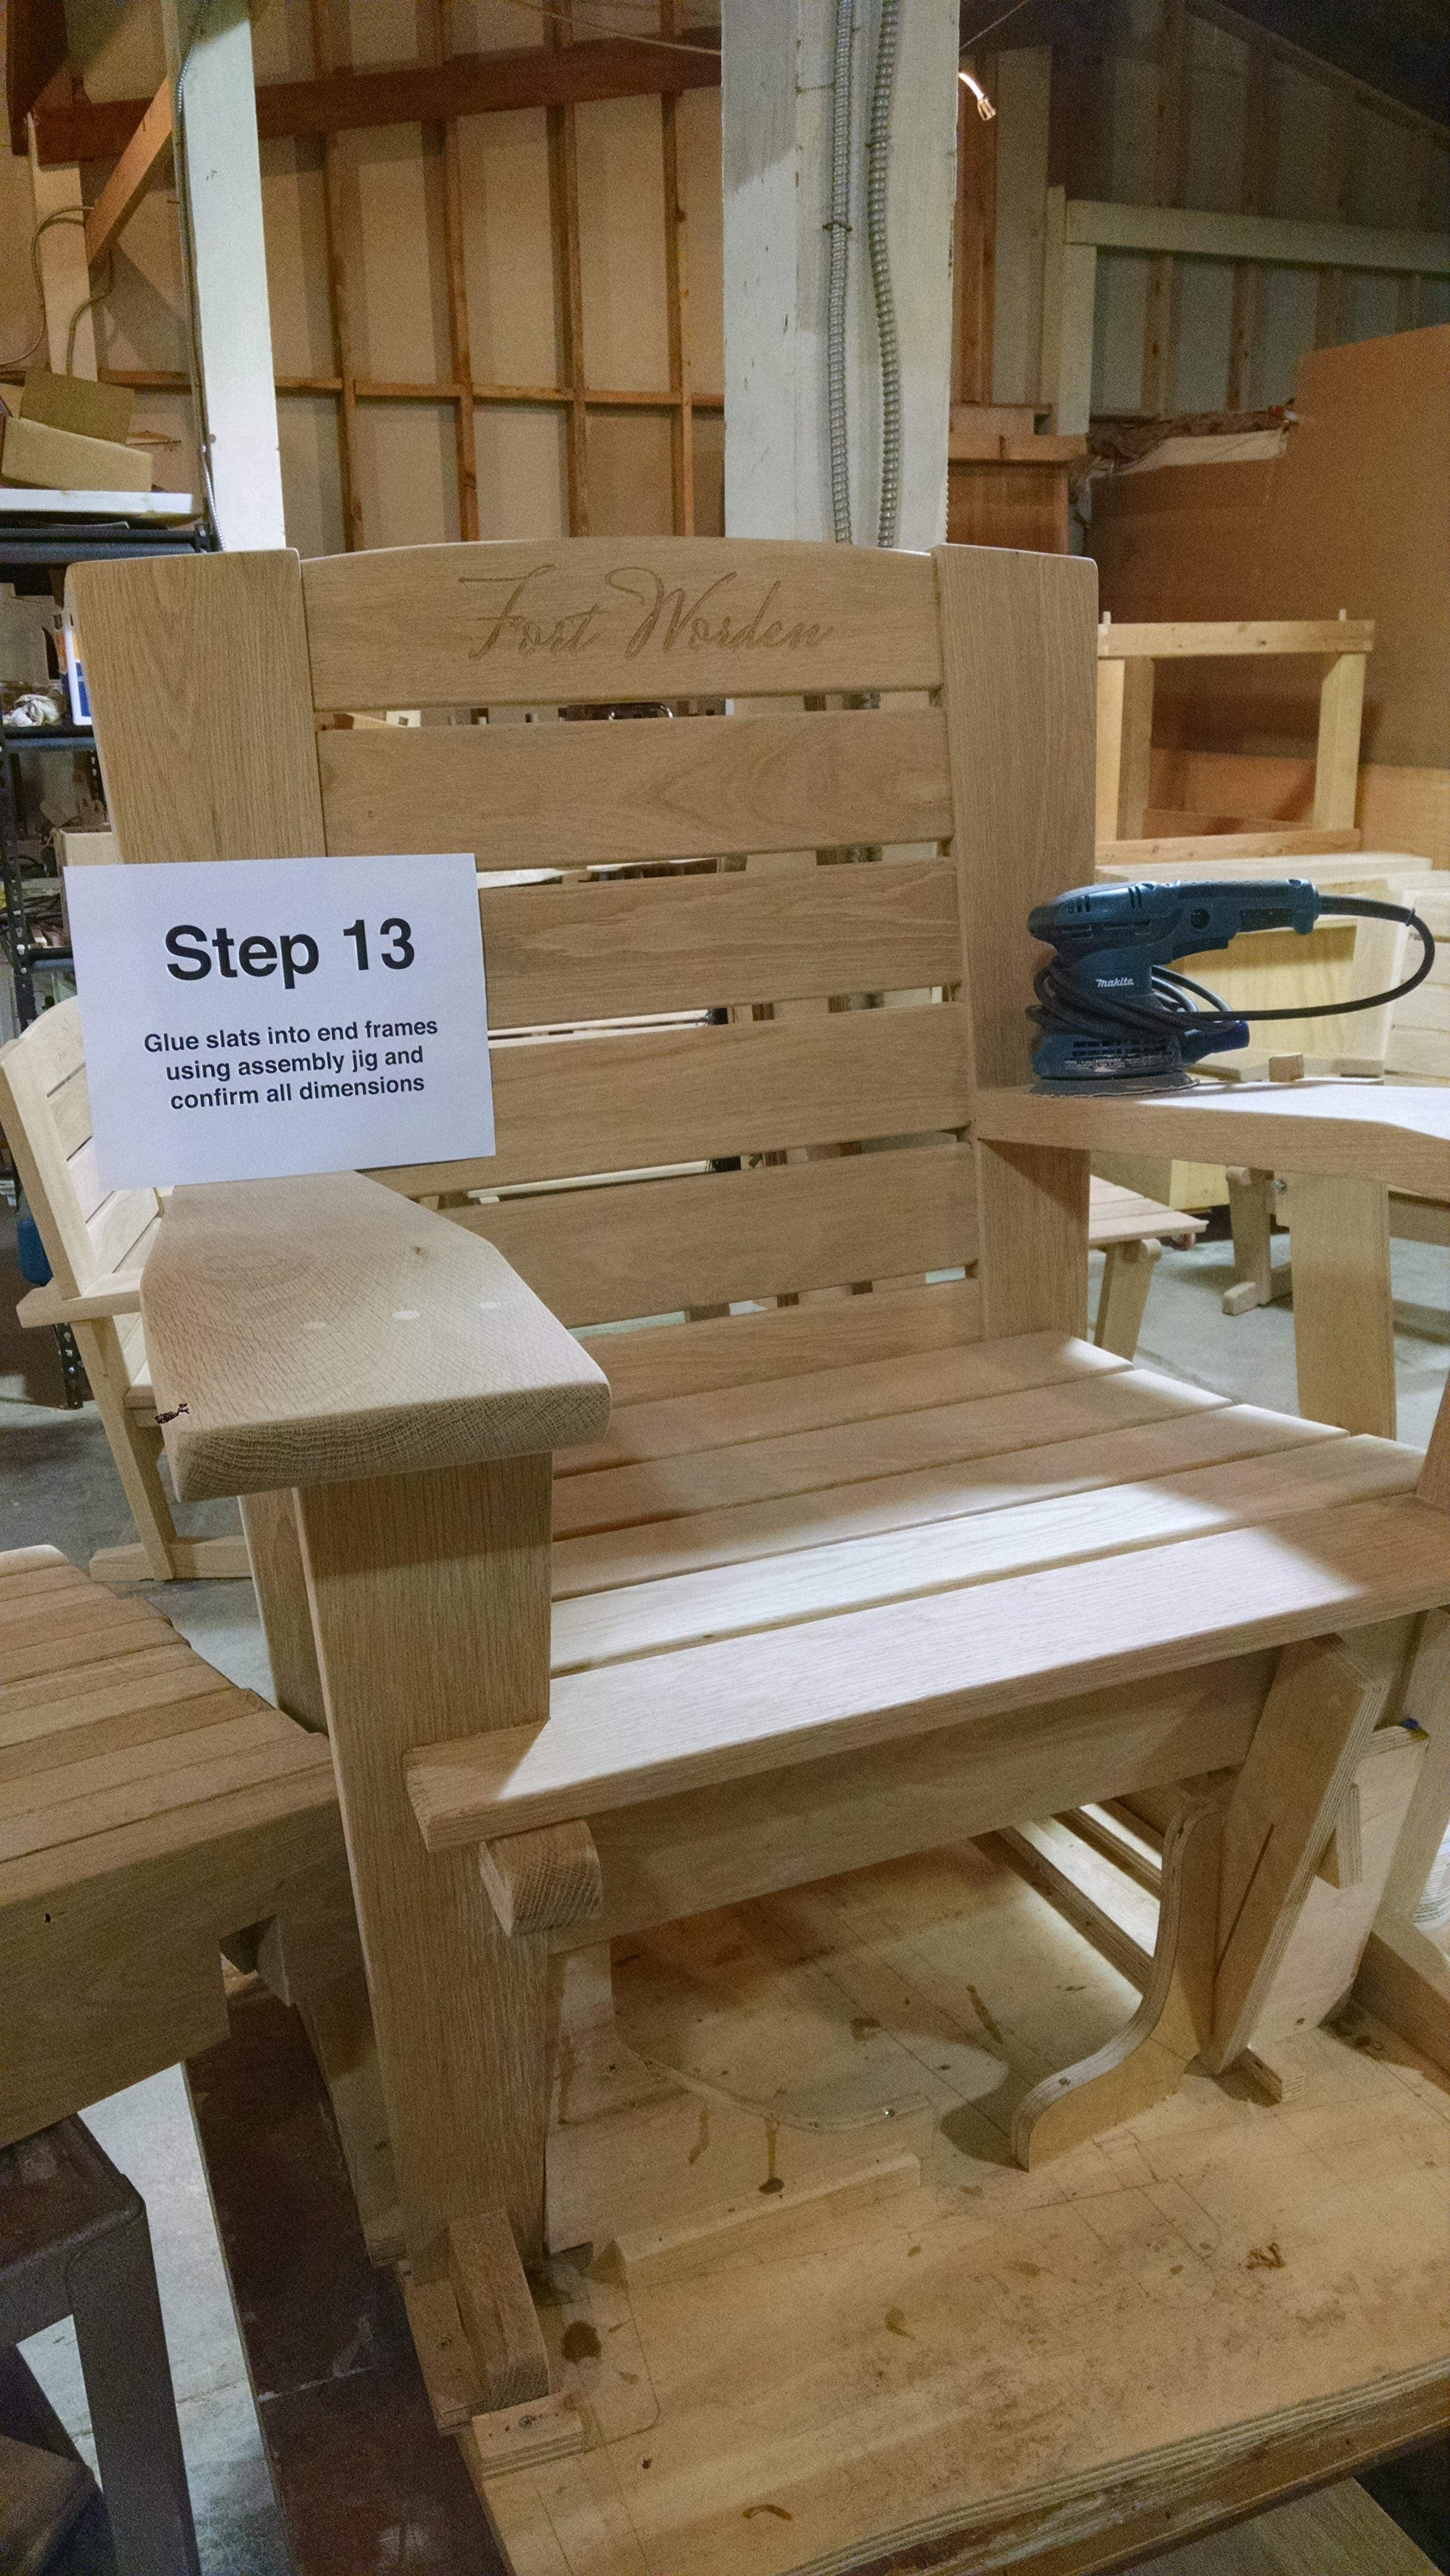
Glue slats into end frames using assembly jig and confirm all dimensions
![Step 1](https://images.squarespace-cdn.com/content/v1/52e953e8e4b04e8cd686746b/1452643535357-H4YEPV5AYRYM62P5ZG1K/step+1.jpg)
![Step 2](https://images.squarespace-cdn.com/content/v1/52e953e8e4b04e8cd686746b/1452643537848-6VDAUWBJ6N193KMKQPMW/step+2.jpg)
![Step 3](https://images.squarespace-cdn.com/content/v1/52e953e8e4b04e8cd686746b/1452643546659-8ZVFNUQIQ3Z1IUSFAO06/step+3.jpg)
![Step 4](https://images.squarespace-cdn.com/content/v1/52e953e8e4b04e8cd686746b/1452643548775-JO23V8CGBNL0YRDMZO6K/step+4.jpg)
![Step 5](https://images.squarespace-cdn.com/content/v1/52e953e8e4b04e8cd686746b/1452643557919-KUM1H95CM3WI8Z73Y4LG/step+5.jpg)
![Step 6](https://images.squarespace-cdn.com/content/v1/52e953e8e4b04e8cd686746b/1452643568830-S5ZNXSPZFU9VS6VO18FJ/step+6.jpg)
![Step 7](https://images.squarespace-cdn.com/content/v1/52e953e8e4b04e8cd686746b/1452643571783-YOA5IWMUFX39UAC1WDUF/step+7.jpg)
![Step 8](https://images.squarespace-cdn.com/content/v1/52e953e8e4b04e8cd686746b/1452643580104-5FMC9W2KOEW74TG0KEBF/step+8.jpg)
![Step 9](https://images.squarespace-cdn.com/content/v1/52e953e8e4b04e8cd686746b/1452643584031-D4W8CSNYWVKLOI6PXYJ0/step+9.jpg)
![Step 10](https://images.squarespace-cdn.com/content/v1/52e953e8e4b04e8cd686746b/1452643592125-1WXC2X4VU4W95GIDVUR8/step+10.jpg)
![Steps 11 & 12](https://images.squarespace-cdn.com/content/v1/52e953e8e4b04e8cd686746b/1452643594190-YLK0G2QR70VCZLL9W85V/step+12.jpg)
![Step 13](https://images.squarespace-cdn.com/content/v1/52e953e8e4b04e8cd686746b/1452643602665-Z85K2FQST0GJ0OO2H3PX/step+13.jpg)