

Sometimes You Just Have To...Clamp
Were everything in life so simple as laying two pieces of wood side-to-side and then driving a nail. Joinery without miter or much measure. Everyone would be a carpenter and philosopher. The Zen of construction instead of Zen and the Art of Motorcycle Maintenance. Just imagine, we would realize Robert Pirsig’s observation that, “absence of quality is the essence of squareness.”
OK, I admit that opening thought was likely not fair…I am reaching into near-history to suggest a way of contemplating your next project. Robert Pirsig, for those of you who are not my age, published a book in 1974 titled Zen and the Art of Motorcycle Maintenance: An Inquiry into Values. Focused on a debate as to what constitutes quality, the book was a bestseller—my bet, without too many readers who wound their way from page one to the last—that suggested there are two types of personalities to be found in a general population, One living in the moment and not concerned with discerning rational truths. The second is thought to be absorbed with learning “inner workings”—i.e., how did they build this or how does it work?
Being a work of philosophy, one can guess where this debate ends…yes, at a middle point. A little of both in day-to-day life is best.
So it is with woodworking. Right up until that moment when all the odd shapes you have crafted must come together to result in a finished project. Then the philosophical debate gives way to questions about fasteners and glue.
Unless you are working on cargo boxes, homes, or other unwieldy projects, I am no fan of bolts, nails or screws. These means of attaching one piece of wood to another are unarguably functional and relatively easy to employ. Please keep in mind I purposefully employ the word “easy.” I have seen fasteners used in ways that were anything but “easy.” Try bolting a 2,200lb cast iron ballast to a boat keel…”easy” is out of the equation.
Fortunately, most of us are not confronted with such problems. Instead we need to figure out how to attach furniture-sized slices of timber to other furniture-sized bits of timber. For that you need clamps, a lot of clamps.
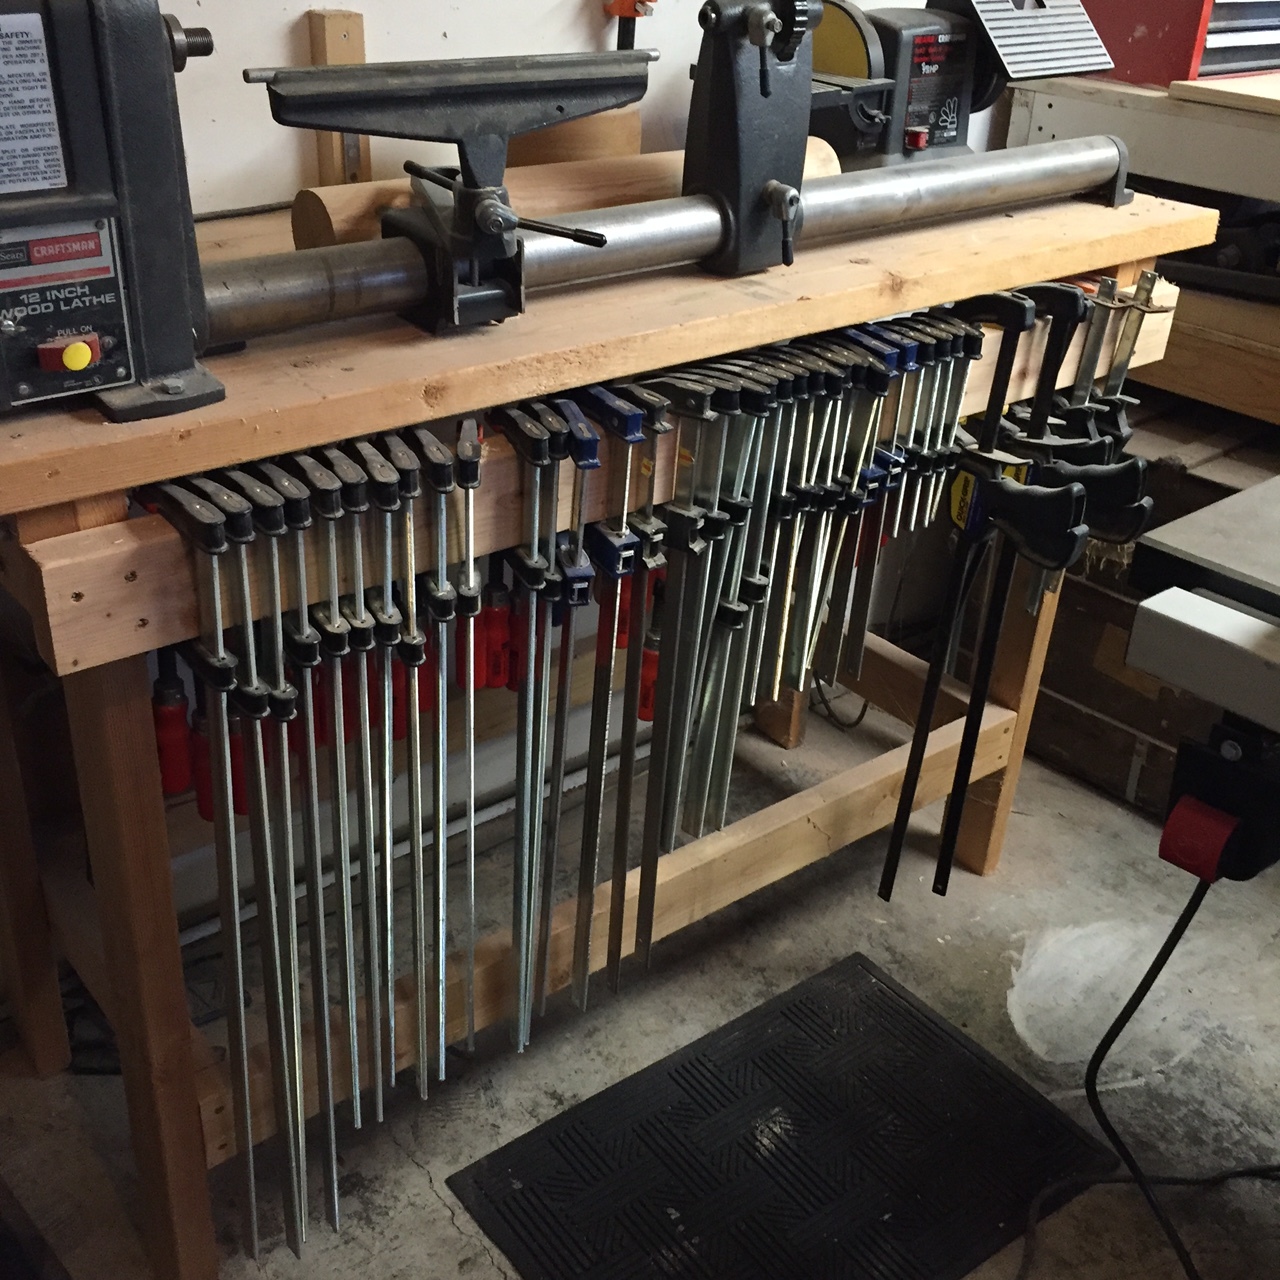
To be honest, I have no idea how many of these tools are lying about my shop. The real answer would be…never enough. So I have a collection of c-clamps, f-clamps, pipe clamps, and now wood clamps.
Why wood? Well.
First, they do not tend to mar surfaces that will be finished without excessive sanding. (Think about how much mahogany, oak or teak you want to sacrifice to the sander.) Second, you can build them to custom size. Need clamps with an eight-inch jaw? Cut and construct to fit.
It’s actually easier than one might expect.
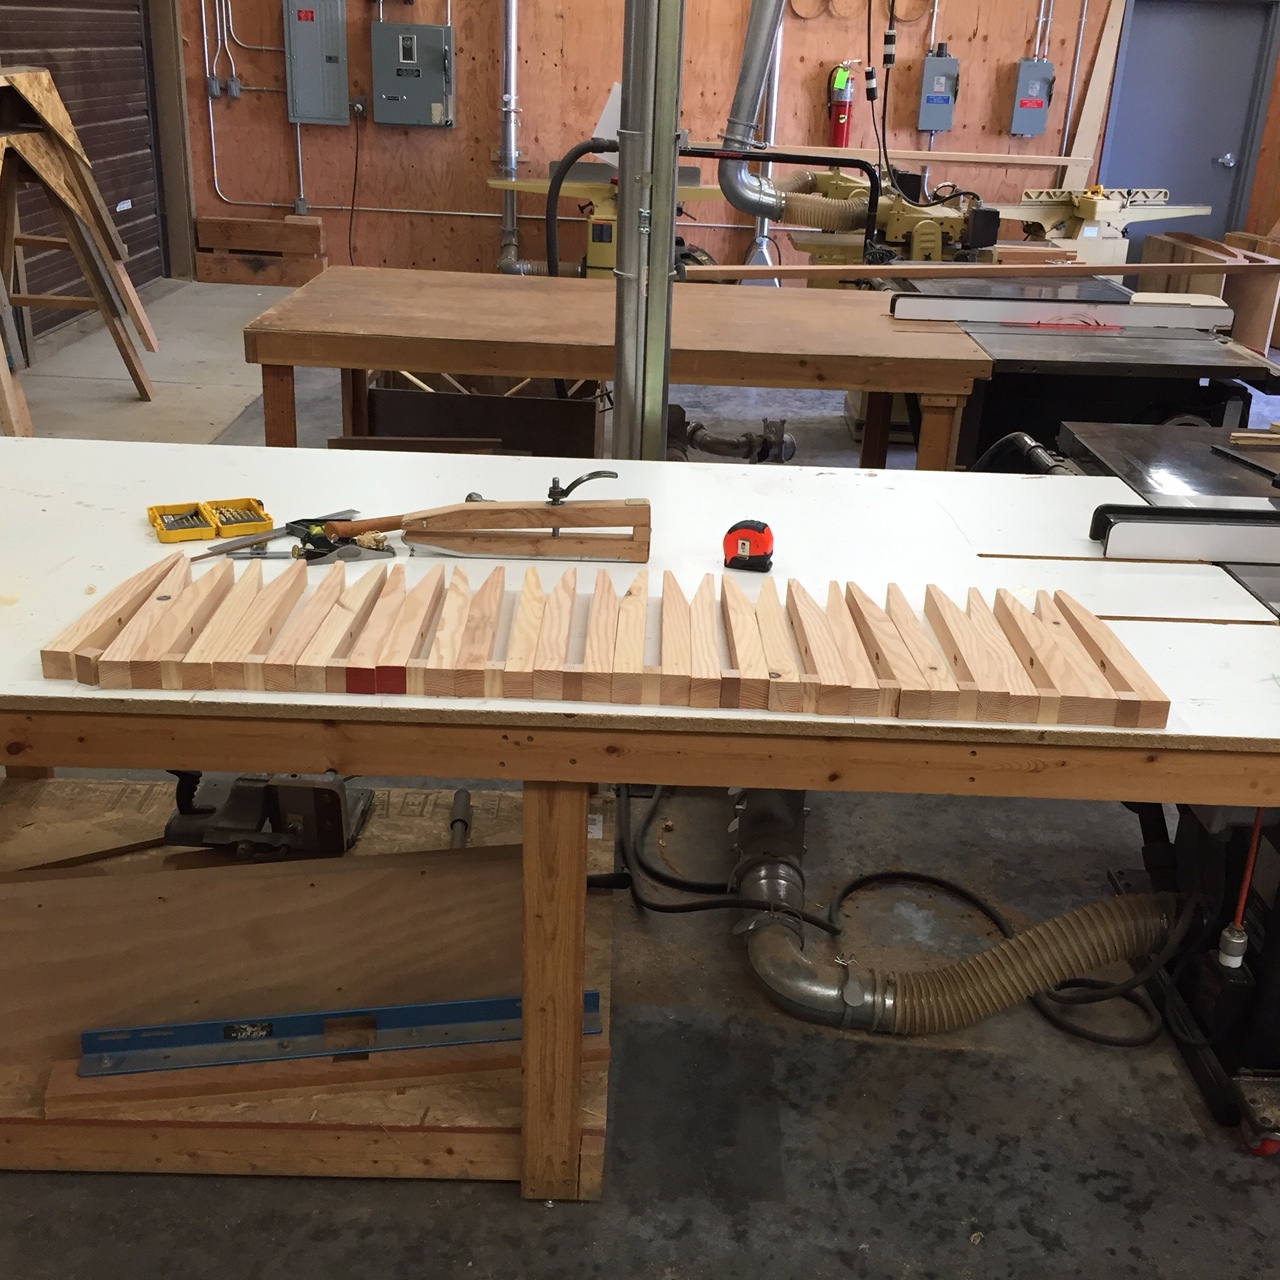
Here’s a case in point. I am working on the lapstrake mini boat. This will require clamps of a size not found in my current collection.
To solve the problem I first went in search of a board that was largely free of knots or twists. Construction-grade 2x4” was out, so I quartered a 4x4” beam that was no longer in need. That left me with four strips about 1 and 3/8 inches square. Cut to 16 inch lengths, I then put a 6” declination into the end of each piece so as to make sighting easier. The bevel is about 20 degrees and is cut such that the thin above each clamp tooth is about ½ inch thick. You can do this on a band or table saw. The band saw is pencil line and eye work. The table saw is fast, but requires a jig and caution—those 10 digits on your hands are valuable.
Once the pieces are cut and “noses” in place, it’s time to drill holes for the clamping screw.
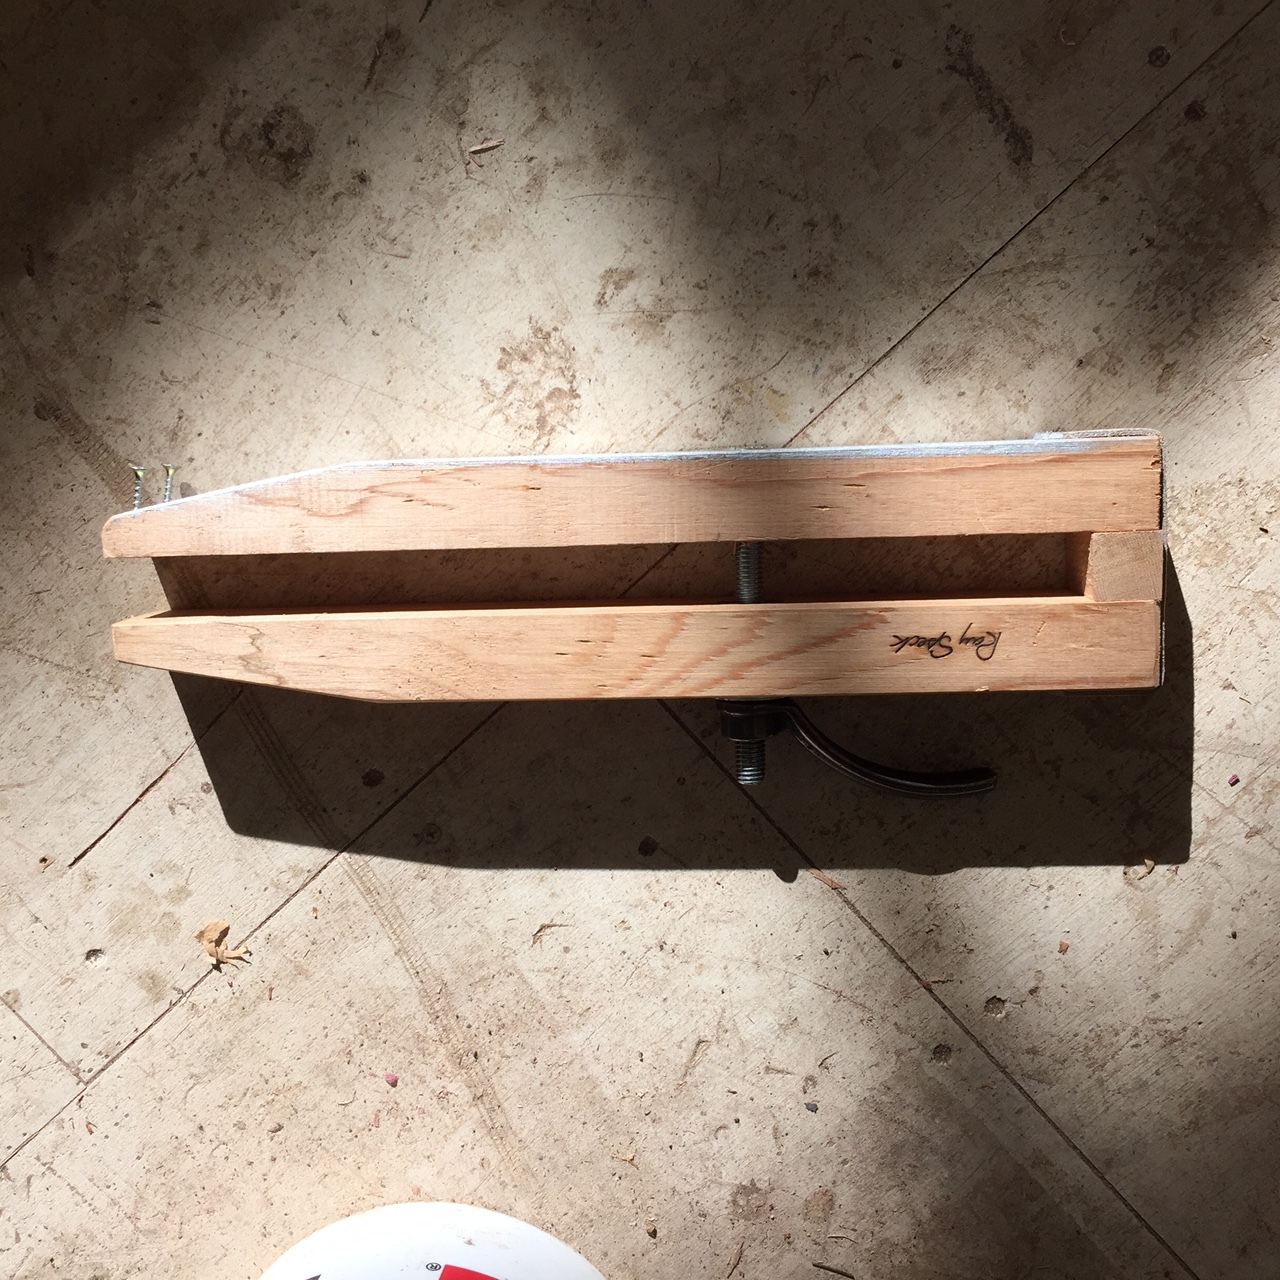
I prefer ½ inch steel bolts with handles you can purchase though the internet, or just employ nuts or wing-nuts. The handles are preferable, particularly when working by yourself. In any case, on one side of the clamp you will need a single ½ inch hole centered and spaced six inches down from the top. The same is true on the opposite side, but there the holes should be centered at six inches from top of clamp and then be one-inch long. (Two passes with the appropriate drill bit.)
To provide a gap piece, you need a 1 inch-square block cut to the width of your clamp legs. Finally, a strip of leather will be attached across the top to tie everything together. (The two legs and a spacing block.) I like to drive a short screw through the leather into the spacing block so as to avoid losing the former. As for attaching the leather to clamp legs, a staple gun and then final tamp with a hammer will do.
Insert bolts and add a washer with nut, wingnut or fancy handle and there you go. More clamps!
Now even when life is not so simple, you have another means of joining one bit of wood to another. To quote Robert Pirsig, “First you get the feeling, then you figure out why.” The Zen of woodworking.

Eric Anderson is a retired Air Force officer who can be found puttering in his shop when not scribbling on the keyboard. A new resident of Port Townsend, he is an avid sailor, struggling carpenter, and would-be writer.